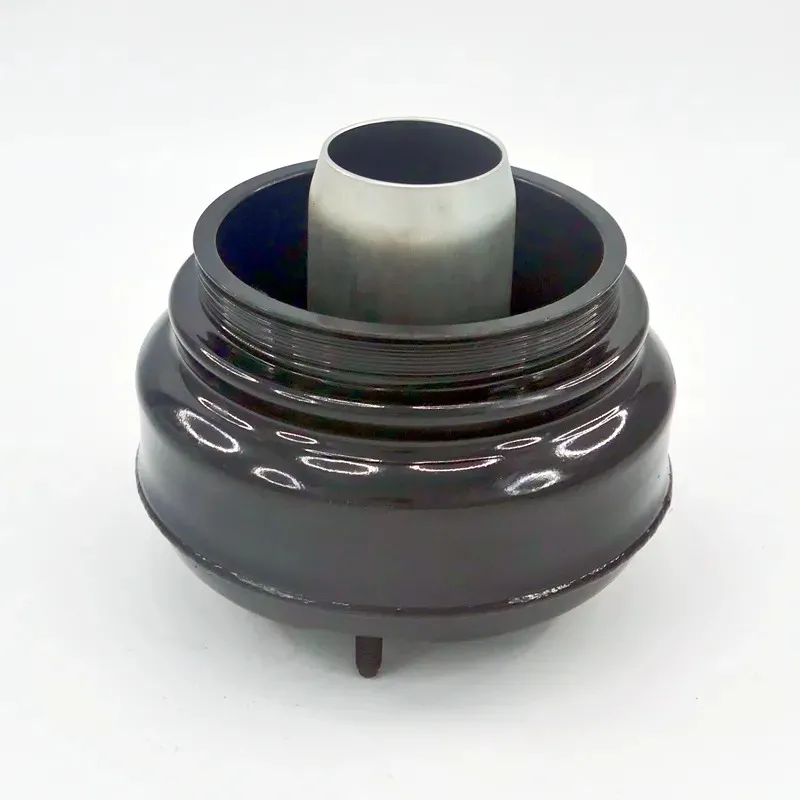
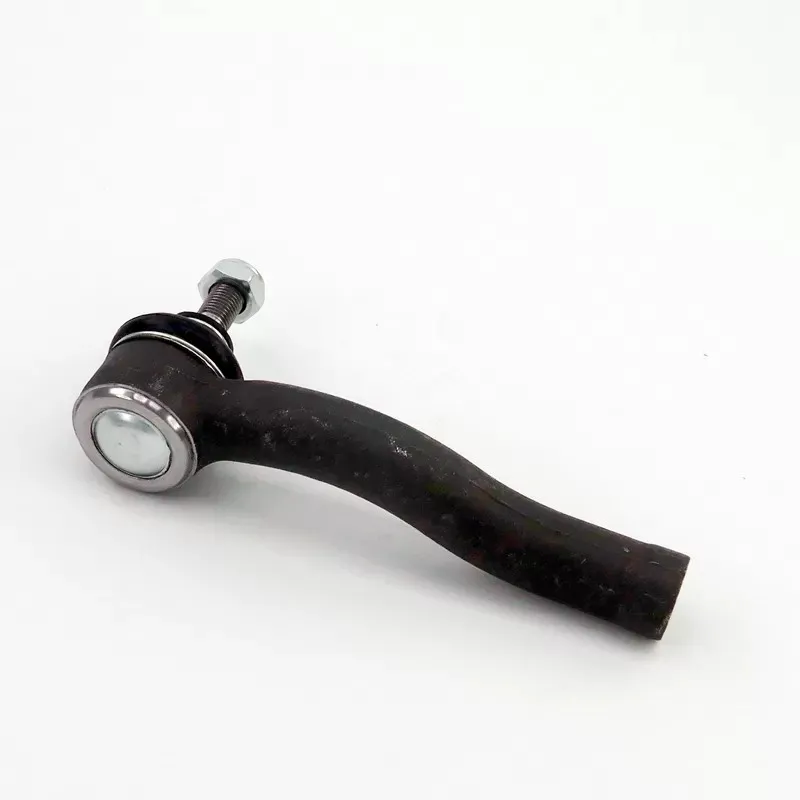
Left-hand and right-hand thread tie rod ends use opposite thread directions. When they are installed at opposite ends of an adjustable steering link, turning the sleeve can lengthen or shorten the assembly without removing either Tie Rod End. Thread direction is not universally determined by whether the component is installed on the vehicle’s left or right side, so I always verify the vehicle application, OEM part number, thread pitch, taper, stud angle, and body geometry before installation.
!
Key Takeaways
- Left-hand and right-hand threads differ by tightening direction, not automatically by vehicle installation side.
- Opposite threads allow an adjustable tie rod sleeve to change steering-link length while installed.
- Correct identification requires matching thread direction, pitch, taper, stud angle, dimensions, and OEM numbers.
- Left-hand and right-hand tie rod ends are not interchangeable unless every fitment specification matches.
- Incorrect installation can create binding, poor alignment, premature wear, or serious steering-system risk.
- A replacement tie rod end still requires torque verification and wheel alignment after installation.
Left-Hand vs Right-Hand Thread Tie Rod Ends: What Is the Difference?
The functional difference is the direction in which the threaded shank advances when turned. A conventional right-hand thread tightens when rotated clockwise, while a left-hand thread tightens when rotated counterclockwise when viewed from the threaded end. The ball-and-socket function may appear similar, but the threaded connection is designed for a specific mating sleeve or steering component.
| Feature |
Left-hand thread tie rod end |
Right-hand thread tie rod end |
| Tightening direction |
Counterclockwise |
Clockwise |
| Common role |
One side of an adjustable linkage |
Opposite side of an adjustable linkage |
| Adjustment effect |
Moves through a compatible sleeve in the reverse direction |
Moves through a compatible sleeve in the conventional direction |
| Vehicle-side rule |
Not automatically the left side |
Not automatically the right side |
| Replacement requirement |
Match application and specifications |
Match application and specifications |
I distinguish thread handedness from vehicle-side designation because these are separate identification criteria. A catalog may describe a part as “left,” “right,” “inner,” or “outer,” and those labels can refer to position, steering geometry, or the manufacturer’s catalog convention rather than thread direction. The only reliable selection method is to confirm the complete part specification against the vehicle or custom steering design.
How Left-Hand and Right-Hand Threads Work in an Adjustable Steering Linkage
An adjustable steering linkage commonly uses a sleeve with one left-hand threaded opening and one right-hand threaded opening. Each tie rod end engages its matching side of the sleeve, so rotating the sleeve moves both threaded ends inward or outward at the same time. This changes the effective length of the linkage while the tie rod ends remain connected to the steering components.
The arrangement is useful during toe adjustment, custom suspension setup, motorsport preparation, and fabricated steering-link applications. If both ends used the same thread direction, turning the sleeve would tend to move one end while moving the other in an undesired direction, or the assembly would require a different adjustment method. Opposite threads make the adjustment predictable, but only when the sleeve, jam nuts, and tie rod ends share the correct thread direction and pitch.
The thread direction also affects jam-nut installation. A left-hand threaded tie rod end requires a compatible left-hand jam nut, while a right-hand threaded tie rod end requires a right-hand jam nut. A jam nut with the wrong direction may appear to start on the shank but will not clamp correctly, and forcing it can damage the threads.
Understanding the Left-Hand Threaded Tie Rod End
A left-hand threaded tie rod end has a reverse thread when viewed against the conventional right-hand standard. It tightens in the counterclockwise direction and is normally paired with the reverse-threaded side of an adjustable tie rod sleeve. The part may be used on either physical side of a vehicle, depending on the steering design and manufacturer’s specification.
I identify a left-hand thread by checking the mating sleeve, the part number, and the direction in which the thread advances. If the thread rises toward the left as it moves away from the viewer, it is generally a left-hand pattern, but visual inspection alone can be misleading when the thread is dirty, damaged, or partially hidden. A thread gauge, known matching nut, and dimensional comparison provide better confirmation.
Left-hand thread tie rod ends are especially common in custom steering systems where the installer needs continuous adjustment. They can also appear in replacement assemblies designed around a particular rack, drag link, or center link. Their use does not mean the part belongs on the vehicle’s left side, and I never select one solely from a “left” label in a product listing.
Understanding the Right-Hand Threaded Tie Rod End
A right-hand threaded tie rod end follows the conventional thread direction and tightens clockwise when viewed from the threaded end. It is frequently used in standard automotive steering assemblies and as one half of a two-direction adjustable linkage. The correct application still depends on the vehicle’s steering geometry, not only on the familiar thread direction.
To verify a right-hand threaded tie rod end, I compare it with the specified sleeve or nut and confirm that the threads engage smoothly without cross-threading. I also check the thread pitch because two right-hand threads can have the same diameter but different spacing. Diameter, pitch, usable thread length, stud taper, and ball-stud angle must all be compatible.
A right-hand thread tie rod end may be installed on the left side, right side, inner position, or outer position. The component’s physical location is determined by the steering design, while its thread direction is determined by how the adjustable connection is intended to function. These two descriptions should be treated as independent data points during parts selection.
How to Tell If a Tie Rod End Is Left-Hand or Right-Hand Threaded
When I inspect an unknown tie rod end, I use a short verification sequence rather than relying on appearance. The following checks reduce the chance of installing a visually similar but incompatible part:
- Check the OEM or supplier part number. Compare the number with the vehicle catalog, service manual, or verified replacement listing. A matching number is more reliable than a general description such as “left tie rod end.”
- Inspect the thread direction. Hold the threaded shank toward you and observe whether the thread advances in the conventional or reverse direction. Clean rust, paint, and debris before making this assessment.
- Measure thread diameter and pitch. Use a thread pitch gauge and caliper where possible. Matching diameter without matching pitch can still result in an unsafe or unusable connection.
- Test the mating nut or sleeve by hand. The nut should start smoothly for several turns without force. Stop immediately if resistance or cross-threading occurs.
- Compare the stud taper and angle. The steering knuckle or center-link hole must match the tie rod end’s taper. A threaded connection can be correct while the tapered stud remains incompatible.
- Confirm body orientation and dimensions. Check overall length, stud height, shank length, ball-center position, grease-boot clearance, and angular movement.
The thread is only one part of the identification process. Tie rod ends also differ in stud diameter, taper, body shape, mounting orientation, articulation range, and intended load path. For that reason, I treat thread direction as a required check, not as a complete fitment decision.
Are Left-Hand and Right-Hand Tie Rod Ends Interchangeable?
Left-hand and right-hand thread tie rod ends are not interchangeable simply because they have similar bodies or the same apparent dimensions. They may be interchangeable only when the steering assembly is specifically designed for that substitution and the replacement matches thread direction, pitch, diameter, taper, stud angle, mounting position, and load requirements. In an adjustable sleeve, installing the wrong handedness can prevent adjustment or cause the sleeve to loosen instead of clamp.
I also separate automotive tie rod ends from general Heim joints or rod ends. A Heim joint may use a standard male or female thread and a spherical bearing, but it may not provide the tapered stud, dust boot, articulation range, corrosion protection, or vehicle-specific geometry required by an automotive steering system. Substituting a general rod end without engineering verification can alter steering travel and load distribution.
The safest replacement is a part matched to the application or a documented custom design. If a supplier proposes an alternative, I request the complete thread specification, stud dimensions, material information, articulation data, and installation requirements before approving it. Similar appearance is not evidence of compatibility.
Adjustable Tie Rod Sleeve Thread Direction and Compatibility
The adjustable tie rod sleeve thread direction must match the two tie rod ends installed in the assembly. A typical sleeve has one right-hand internal thread and one left-hand internal thread, although custom systems can use different arrangements. The sleeve should be marked or documented so the installer knows which end accepts each thread.
Before installation, I thread each tie rod end into the sleeve by hand and verify that both sides engage smoothly. I then check the minimum and maximum usable engagement specified by the manufacturer, leaving sufficient thread engagement on both sides. The jam nuts should be installed on the correct handed threads and tightened only after the steering length has been set.
For a custom steering linkage, I record the original center-to-center length, sleeve position, exposed thread length, and steering-wheel position. These measurements help establish a starting point, but they do not replace a final alignment. Any change to tie rod length can alter toe, steering-wheel centering, and sometimes the relationship between steering angle and suspension movement.
What Can Happen If the Wrong Tie Rod End Is Installed?
An incorrect tie rod end can create several problems even if it initially appears to fit. A wrong thread direction may prevent the sleeve from adjusting, while a wrong pitch can damage the sleeve or jam nut. A mismatched taper may fail to seat correctly in the steering knuckle or center link, creating movement at the joint.
The practical symptoms may include an off-center steering wheel, uneven toe, tire wear, steering pull, binding during suspension movement, reduced adjustment range, or premature wear at the joint. In a severe case, insufficient thread engagement or an improperly seated tapered stud can compromise the steering connection. I treat any unexplained looseness, clicking, abnormal resistance, or visible thread damage as a reason to stop and recheck the parts.
Vehicle-side labels can also cause errors. A part listed for the “left side” may have a right-hand thread, and a part listed for the “right side” may have a left-hand thread, depending on the design. The catalog position, thread direction, and physical geometry must be confirmed as three separate items.
Installation and Safety Checklist
I use the following checklist when replacing a tie rod end or assembling an adjustable steering link:
- Confirm the vehicle application, OEM number, and intended installation position.
- Match left-hand or right-hand thread direction before installing the sleeve or jam nut.
- Verify thread diameter, pitch, usable engagement, and sleeve compatibility.
- Inspect the stud taper, stud angle, body orientation, and clearance through the full steering range.
- Clean mating surfaces and install the tapered stud according to the service-manual procedure.
- Apply the specified torque to the fastener; do not substitute an estimated value.
- Install a new cotter pin or specified locking device where the design requires one.
- Tighten jam nuts against the sleeve after setting the linkage length.
- Check for binding, contact, boot distortion, and movement before lowering the vehicle.
- Perform a professional wheel alignment after replacement or adjustment.
A wheel alignment is necessary because the tie rod controls toe geometry. Counting exposed threads or duplicating the number of turns from the old part can provide a useful starting reference, but it cannot confirm that the final toe angle is within specification. I also inspect the steering wheel position and verify that the steering system moves freely from lock to lock.
Choosing Tie Rod Ends for Repairs and Custom Steering Systems
For a small automotive repair shop, the best selection process begins with the vehicle identification number, OEM part number, and service information. I then compare the replacement’s thread direction, pitch, taper, stud dimensions, and overall geometry before ordering. This approach is more reliable than selecting a part from a photograph or from the left/right description alone.
For custom suspension or racing applications, I begin with the design load, steering travel, mounting angle, thread size, sleeve design, and required adjustment range. Automotive tie rod ends should not be replaced with general Heim or rod ends unless the complete system has been designed and checked for the intended loads and movement. The selected part must also provide adequate clearance and a suitable method for locking the adjustment.
Zegao Machinery manufactures Tie Rod End products alongside other chassis components, including ball joints, control arms, rack ends, and stabilizer links. When evaluating a supplier such as Zegao Machinery, I would request the exact part number, thread specification, dimensional drawing, application list, and inspection information for the intended steering system. Those records allow the buyer to compare the component against the original part or engineering drawing before installation.
Conclusion
What Is the Difference Between Left-Hand and Right-Hand Thread Tie Rod Ends? The answer is that they use opposite thread directions, allowing compatible adjustable steering linkages to change length while both tie rod ends remain installed. Left-hand and right-hand designations do not automatically correspond to the vehicle’s left and right sides, so correct selection depends on the complete application and geometry.
I recommend verifying the OEM number, thread direction, pitch, diameter, taper, stud angle, body orientation, and required thread engagement before purchasing a replacement. After installation, the jam nuts, fasteners, cotter pins, and torque values should be checked against the applicable service information. A final wheel alignment is also required because changing tie rod length changes toe geometry, even when the replacement appears identical to the original part.


 es
 cn