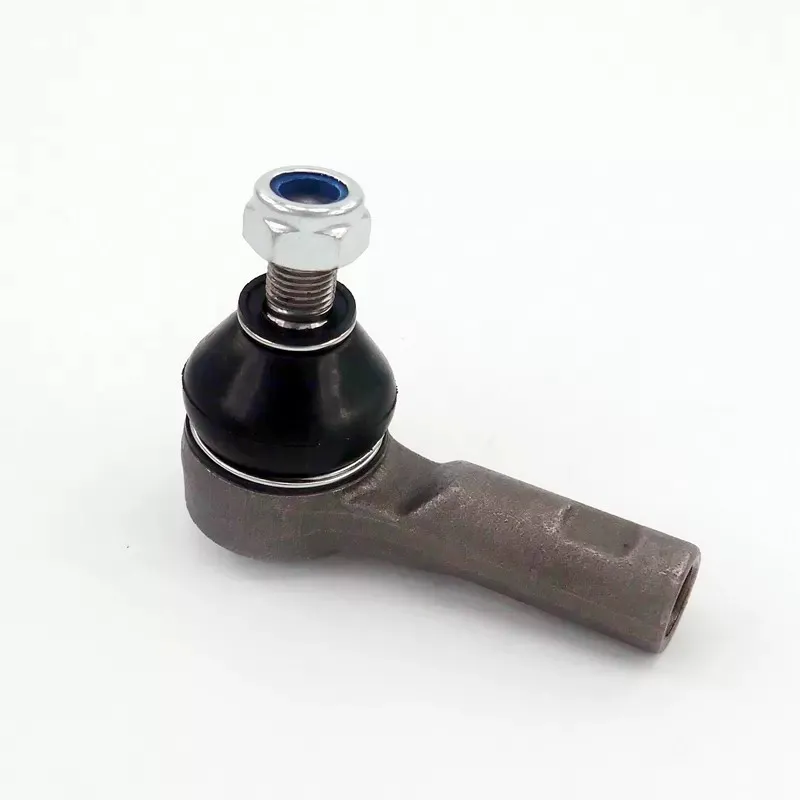
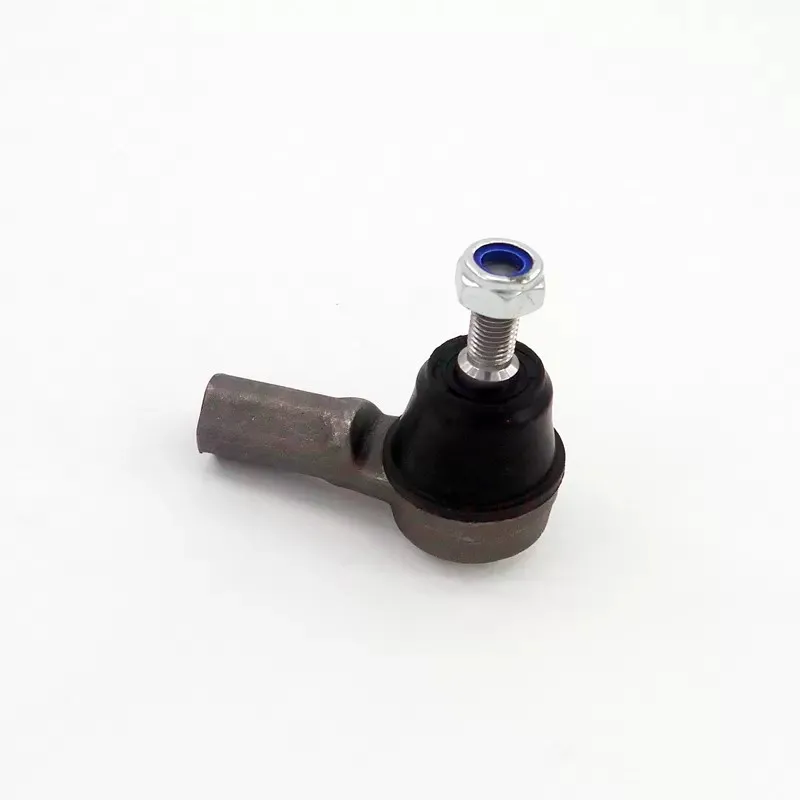
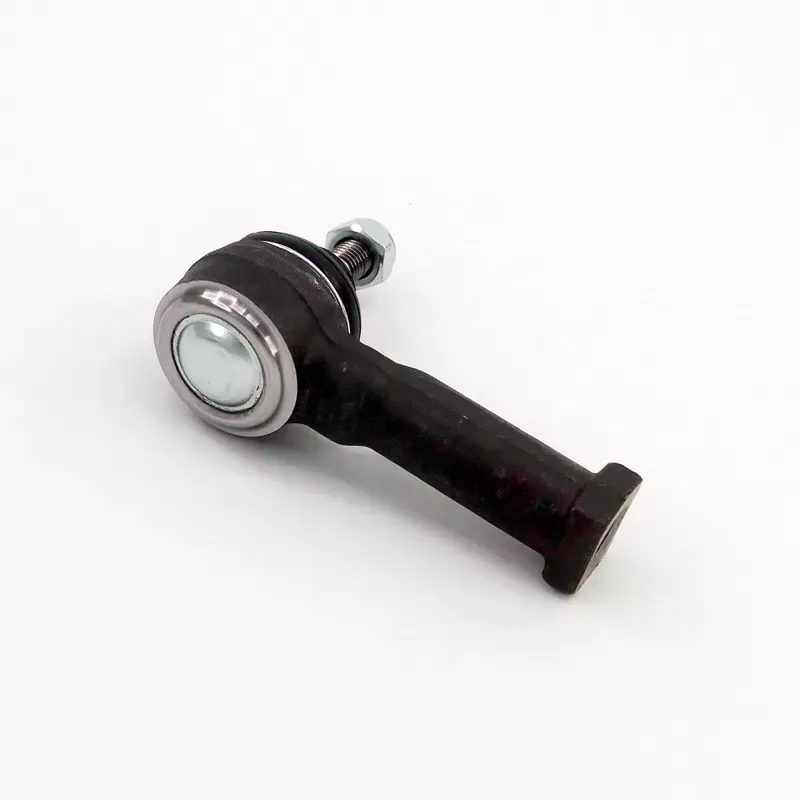
To identify the correct tie rod end, I use a four-step process: find the OE number, measure thread size and pitch, verify critical geometry and length, then confirm the vehicle application and installation position before ordering. This method reduces incorrect-fitment returns because it checks both catalog information and physical compatibility. Thread size alone is not enough; the stud taper, thread direction, shank length, ball joint dimensions, and steering-arm interface can determine whether a part is safe to install. In this tie rod end identification guide, I explain the process for mechanics, automotive parts buyers, distributors, restoration specialists, and custom steering-system builders.
!
Key Takeaways
- Start with the OE number, then confirm vehicle application, installation position, and aftermarket cross-reference data.
- Measure thread diameter, pitch, direction, rod length, stud taper, and overall height before purchasing.
- The same thread size does not guarantee compatibility because steering-arm taper and geometry may differ.
- Record measurements in a standardized worksheet to reduce ordering errors and repeated inspection work.
- Confirm catalog drawings, left-or-right position, inner-or-outer location, and supplier quality documents before shipment.
- Tie Rod End Supplier evaluation should include dimensional control, traceability, packaging accuracy, and delivery-risk planning.
What You Need Before Starting
Before I identify an unknown tie rod end, I collect the original part, the vehicle information, and the available catalog data. The minimum vehicle information includes the manufacturer, model, model year, engine, drive configuration, axle position, steering position, and whether the vehicle uses an inner or outer tie rod end. For commercial vehicles, I also record the axle rating and chassis configuration because one model family may use different steering components.
The basic measuring equipment should include a digital caliper with at least 0.01 mm resolution, a thread pitch gauge, an outside micrometer for closer diameter checks, a steel rule, a radius or taper gauge, and a camera for recording the installed position. I also use thread identification nuts or known reference bolts when the thread profile is difficult to read. Measurement tools should be clean, free from burrs, and checked against a known standard before inspecting a batch.
For purchasing work, I prepare a comparison sheet with separate fields for the OE number, aftermarket part number, thread diameter, thread pitch, thread direction, stud diameter, taper length, taper angle, shank length, overall height, mounting position, and packaging label. I also leave space for tolerance information, drawing revision, inspection date, and supplier confirmation. This record becomes useful when comparing offers from a Tie Rod End Supplier or checking whether a replacement part matches an earlier sample.
How to Identify the Correct Tie Rod End by OE Number, Thread Size and Dimensions
I do not treat identification as a single-number search. I use the OE number first, measure the physical part second, and confirm the installation geometry third. If any of these three sources disagree, I stop the order and request a technical drawing, additional vehicle data, or a physical sample.
Step 1: Find the OE Number and Vehicle Application
The OE number is the original equipment part number assigned by the vehicle or component manufacturer. It may be stamped, printed, molded, laser-marked, or shown on the original packaging. Depending on the manufacturer, the number may contain digits, letters, hyphens, or suffixes that distinguish revisions, sides, production ranges, or vehicle applications.
When I identify a tie rod end by part number, I record every visible character instead of copying only the first group of digits. A suffix such as “L,” “R,” “A,” or “B” may indicate the installation side or a design revision. I also photograph the marking because worn characters can be misread, especially when “8,” “B,” “3,” and “5” appear close together.
The OE number is important because it connects the component to the original vehicle application. A catalog search can reveal the corresponding axle position, steering side, inner or outer location, and known aftermarket replacements. However, I still compare the catalog result against the physical part because superseded numbers, regional variants, and catalog errors can occur.
What Is a Tie Rod End OE Number?
A tie rod end OE number is the reference number used to identify the original steering component or its approved replacement in a vehicle manufacturer’s parts system. It is not always the same as the number printed by an aftermarket manufacturer. One OE number may have several aftermarket cross-references, while one aftermarket number may replace multiple earlier OE references.
For a tie rod end OE number lookup, I verify the number against at least two independent data points: the vehicle application and the component position. For example, a search result may show that a part fits a particular vehicle, but the same vehicle may use different tie rod ends on the left and right sides or on different suspension packages.
Common Mistakes to Avoid
- Using only the vehicle model: Model names often cover multiple engines, axles, steering systems, and production years.
- Ignoring superseded numbers: A new OE number may replace an older number but still require confirmation of dimensions.
- Confusing inner and outer positions: Inner tie rod ends connect closer to the steering rack, while outer tie rod ends attach to the steering knuckle or steering arm.
- Treating a cross-reference as automatic proof: A cross-reference should be checked against the drawing, dimensions, and installation position.
Step 2: Measure Tie Rod End Thread Size and Pitch
After recording the part number, I measure the threaded connection. The main values are nominal thread diameter, thread pitch, thread direction, and male or female thread type. These details apply to the connection between the tie rod end and the adjusting sleeve, steering link, rack end, or other mating component.
For metric threads, I record the diameter in millimeters and the pitch in millimeters, such as 14 mm × 1.5 mm. For inch threads, I record the nominal diameter and threads per inch, such as 0.5 inch × 20 TPI. I never convert a metric thread to an inch equivalent simply because the diameters appear close; the pitch and flank geometry may prevent correct engagement.
How Do I Measure Tie Rod End Thread Size and Pitch?
I begin by cleaning the threaded section and measuring the outside diameter of a male thread or the inside diameter of a female thread. A digital caliper provides a screening measurement, but I use an outside micrometer when the value is close to a size boundary. For pitch, I place each blade of a thread pitch gauge against the thread until the teeth seat without visible gaps.
If a pitch gauge is unavailable, I measure the distance across 10 thread intervals and divide by 10 for a metric pitch estimate. I count the spaces carefully and avoid measuring damaged thread crests. This method provides an initial value, but I confirm the result using a known nut or a supplier drawing before approving the part.
Thread direction also requires a separate check. Most automotive tie rod connections use right-hand threads, but some assemblies include a left-hand thread to permit adjustment without removing the component. I mark the direction on the worksheet as RH, LH, or not confirmed, and I verify it by observing which way the thread advances when viewed from the end.
Measurement Record for Thread Data
| Measurement |
Example record |
Why it matters |
| Thread type |
Male |
Must match the mating sleeve or link |
| Nominal diameter |
14.00 mm |
Controls basic fit and engagement |
| Pitch |
1.50 mm |
Prevents cross-threading and incorrect adjustment |
| Thread direction |
Right-hand |
Determines adjustment and installation |
| Usable thread length |
32 mm |
Affects engagement and alignment range |
| Thread condition |
No damaged crests |
Damaged threads can produce false measurements |
Common Mistakes to Avoid
- Measuring across dirt or coatings: Remove grease, rust, and paint before checking diameter.
- Checking diameter but not pitch: Two threads can have similar diameters but different pitches.
- Assuming both sides use the same direction: Some adjustment systems use one right-hand and one left-hand thread.
- Ignoring usable thread length: Correct diameter and pitch cannot compensate for insufficient engagement.
Step 3: Check Tie Rod End Dimensions and Fitment
Thread measurements identify the connection, but the steering-arm interface determines whether the part can physically and safely mount. I measure the tapered stud, stud length, nut seating area, ball center height, shank length, body diameter, and overall height. I also record whether the stud points upward or downward in the installed position.
The most important geometry is usually the stud taper. I measure the small-end diameter, large-end diameter, and tapered length, then calculate or compare the taper angle using a drawing or measurement reference. A stud that is too large, too small, too short, or shaped with a different taper may not seat correctly in the steering knuckle, even when the nut thread fits.
Rod length also affects toe adjustment. I measure from the ball center or defined reference point to the threaded end, depending on the part design. For repeatable comparison, I use the same datum on every sample and record whether the length is measured with the dust boot installed or removed.
Which Tie Rod End Dimensions Must Be Checked Before Buying?
Before I approve a replacement, I check at least these dimensions:
- Stud small-end diameter at the narrow portion of the taper.
- Stud large-end diameter near the shoulder or steering-arm seat.
- Taper length between the small and large measurement points.
- Stud thread diameter and thread length above the steering arm.
- Ball center height from the mounting reference surface.
- Overall body height and housing diameter.
- Shank or rod length from the ball center to the threaded connection.
- Dust boot position and clearance around the steering knuckle.
- Grease fitting location, if the design uses a serviceable joint.
- Installation position, including inner, outer, left, right, front axle, or rear axle.
A practical screening tolerance depends on the original specification, but I treat a difference of 0.10 mm in a critical diameter or 0.20 mm in a taper-related length as a reason to request confirmation rather than assume interchangeability. These are inspection triggers, not universal replacement specifications; the approved drawing remains the controlling document.
!
Can I Use a Tie Rod End With the Same Thread Size but Different Dimensions?
No. Matching thread size alone does not prove that a tie rod end will fit or operate correctly. The steering-arm taper, ball center height, stud length, body offset, and threaded shank length can change the steering angle, available toe adjustment, or joint seating.
For example, two parts may both use a 14 mm × 1.5 thread, while one has a 12.8 mm stud taper and another has a 14.0 mm taper. The second part may not seat in the steering arm, and forcing it with a different nut or washer can create an unsafe joint. I therefore reject any candidate that matches the thread but fails the taper, height, or installation-position check.
Step 4: Confirm Physical Fitment, Position, and Catalog Data
Once I have the measurements, I compare them with catalog listings, technical drawings, and the original vehicle application. The comparison must cover the complete assembly rather than only the visible joint. I check whether the part is for an inner or outer position, left or right side, front or rear axle, and standard or modified steering geometry.
I also review the supplier’s dimensional-control process. For production orders, I ask whether the supplier uses incoming material checks, in-process inspection, final dimensional inspection, thread gauges, taper gauges, and batch traceability. A useful quality record identifies the drawing revision, inspection date, sample quantity, measured values, and acceptance criteria.
How to Validate a Candidate Tie Rod End
I use the following decision sequence before placing an order:
- OE number match: Does the candidate cross-reference the recorded original number?
- Vehicle application match: Does it match year, model, engine, axle, and steering configuration?
- Position match: Is it the correct inner, outer, left, or right part?
- Thread match: Do diameter, pitch, direction, usable length, and gender match?
- Taper match: Do the small diameter, large diameter, taper length, and stud orientation match?
- Dimensional match: Do ball center height, body dimensions, shank length, and overall length fall within specification?
- Installation check: Does the dust boot, grease fitting, nut, and locking feature clear nearby components?
- Documentation check: Are drawing data, material information, inspection records, and packaging labels available?
I classify the result as confirmed, conditionally confirmed, or not confirmed. “Confirmed” means the OE or catalog data and physical measurements agree. “Conditionally confirmed” means the dimensions appear suitable but one item, such as thread direction or taper angle, still requires supplier evidence.
Standard Tie Rod End Identification Worksheet
A standardized worksheet helps me reduce repeated inspection and makes supplier communication more precise. I record the original component and the proposed replacement in adjacent columns so that differences are visible before ordering.
| Data field |
Original part |
Candidate replacement |
Status |
| OE number |
|
|
Match / pending |
| Aftermarket number |
|
|
Cross-reference |
| Vehicle application |
|
|
Confirmed / pending |
| Position |
Inner / outer |
Inner / outer |
Match / mismatch |
| Side |
Left / right |
Left / right |
Match / mismatch |
| Thread diameter |
|
|
Within specification |
| Thread pitch |
|
|
Within specification |
| Thread direction |
|
|
Match / pending |
| Male or female thread |
|
|
Match / mismatch |
| Stud small diameter |
|
|
Compare |
| Stud large diameter |
|
|
Compare |
| Taper length |
|
|
Compare |
| Ball center height |
|
|
Compare |
| Shank length |
|
|
Compare |
| Overall height |
|
|
Compare |
| Boot and fitting position |
|
|
Check clearance |
| Drawing revision |
|
|
Record |
| Inspection report |
|
|
Received / pending |
For a small auto parts business, this worksheet can be converted into a spreadsheet with mandatory fields. I recommend making the OE number, position, thread pitch, taper dimensions, and drawing revision required entries before a purchase order can be released. That simple control prevents incomplete identification from becoming a shipment problem.
Supplier Quality, Delivery Risk, and Total Cost
Identification accuracy is only one part of replacement compatibility. When I evaluate a Tie Rod End Supplier, I also review quality compliance, delivery controls, and total cost of ownership. A low unit price can become expensive if incorrect labels produce returns, if mixed batches are shipped, or if a delayed component keeps a vehicle out of service.
Zegao Machinery, also known as Yuhuan Zegao Machinery Company, manufactures chassis parts including tie rod ends, ball joints, control arms, stabilizer links, and other steering or suspension components. The company describes a 5,000-square-meter facility, more than 3,000 square meters of construction area, and operations established in 1995. For a buyer, these company details should be followed by document-based checks such as product drawings, sample inspection, packaging photographs, batch identification, and agreed delivery milestones.
Quality Compliance Checks
Before approving a production supplier, I request:
- Controlled technical drawings showing critical dimensions and tolerances.
- Material or component specifications for the housing, stud, nut, and dust boot.
- Thread gauges or inspection records for diameter, pitch, and direction.
- Taper and stud measurements linked to a batch or lot number.
- Functional inspection records for articulation, boot retention, and joint movement.
- Packaging labels that show OE references, aftermarket numbers, position, and quantity.
- A documented process for handling nonconforming parts.
The applicable acceptance limits must come from the drawing, customer specification, or agreed technical standard. I do not replace those requirements with general statements such as “premium” or “OEM quality.” If a supplier cannot provide the critical dimensions or inspection method, I mark the item as a documentation risk before comparing prices.
Delivery Risk Management
For delivery planning, I separate sample approval, production time, inspection time, packaging, and transport. I ask for a written schedule with dates rather than accepting a single estimated lead-time statement. For repeated orders, I also track on-time delivery percentage, order completeness, labeling accuracy, and the number of corrective actions per shipment.
A practical purchasing plan may hold one approved sample, one signed drawing revision, and a controlled packaging reference. If the business consumes 200 tie rod ends per month, a safety stock of 20 to 40 units may cover approximately three to six working days, depending on actual demand and replenishment time. The correct inventory level depends on vehicle downtime cost, transport reliability, and supplier capacity, so I calculate it from historical consumption rather than applying one fixed percentage.
Total Cost of Ownership
I calculate total cost using more than the purchase price:
Total cost = unit price + freight + inspection cost + inventory carrying cost + installation rework + return handling + vehicle downtime exposure.
For example, assume a replacement tie rod end costs $18, freight and handling add $4, inspection adds $1.50, and carrying cost adds $0.50 per unit. The planned landed cost is $24 per unit. If a 3% fitment error rate causes a $35 return and handling loss on each incorrect unit, the expected error cost is $1.05 per unit, increasing the effective cost to $25.05.
If a better identification process reduces the error rate from 3% to 1%, the expected error cost falls from $1.05 to $0.35 per unit. At 1,000 units, that difference represents $700 in avoided return and handling expense, before considering labor, customer dissatisfaction, or vehicle downtime. This is why OE-number verification and dimensional records have measurable financial value.
Tie Rod End Identification for Different Vehicle Applications
Passenger vehicles usually have extensive catalog coverage, but I still verify engine, axle, and position because fitment can change within one model generation. I pay special attention to inner versus outer components and to left-hand or right-hand variants. A catalog match is strongest when the OE number, vehicle configuration, and physical dimensions all agree.
Classic cars often require more manual measurement because original packaging may be unavailable and catalog data may be incomplete. I record the steering-arm taper, thread type, shank length, and ball center height, then compare them with period parts catalogs or restoration drawings. If the steering system has been modified, I treat the current installed geometry as the reference rather than assuming the chassis originally retained factory components.
Hot rods and custom steering systems require additional caution because aftermarket spindles, steering arms, rack-and-pinion conversions, and adjustable sleeves may use mixed standards. I verify every mating component, including thread direction and adjustment range. A tie rod end that fits the steering arm may still fail to provide enough toe adjustment or may place the joint at an unacceptable operating angle.
Commercial trucks may use larger studs, different thread pitches, reinforced housings, and application-specific steering arms. I record axle load, vehicle series, wheelbase, and steering linkage position before ordering. For these vehicles, the cost of a wrong part can include extended downtime, roadside service, and operational disruption, so documentation and batch traceability become more important than a small unit-price difference.
Final Verification Before Ordering
Before I release an order, I compare the supplier quotation, product label, technical drawing, and inspection worksheet. The OE number on the quotation must correspond to the requested application, and the aftermarket part number must be unique and traceable. I also confirm whether the quoted item includes the nut, cotter pin, washer, dust boot, grease fitting, and any required installation hardware.
I request a sample when the part is new, modified, intended for a custom vehicle, or not supported by complete catalog data. I measure the sample using the same worksheet and keep photographs of the critical features. If the supplier changes a drawing, material, production location, or packaging label, I require a new review before treating the part as interchangeable.
The final decision should be based on a documented match, not on appearance or thread size alone. If the OE reference, vehicle application, thread specifications, taper geometry, dimensions, and installation position all agree, the candidate has passed the main identification checks. If one item remains uncertain, I postpone the order until the supplier supplies a drawing, sample, or written technical confirmation.
Conclusion
How to Identify the Correct Tie Rod End by OE Number, Thread Size and Dimensions requires a combined catalog and measurement process. I start with the OE number and vehicle application, verify the aftermarket cross-reference, measure thread diameter and pitch, then check stud taper, ball center height, shank length, overall dimensions, thread direction, and installation position. This approach explains why matching a tie rod end by dimensions alone is not always reliable: steering-arm compatibility and operating geometry are equally important.
My recommended next steps are practical. First, create the identification worksheet and record the original part before removing or discarding its packaging. Second, measure the thread and critical geometry with a digital caliper, thread gauge, and suitable taper references. Third, send the completed data to a Tie Rod End Supplier such as Zegao Machinery for catalog confirmation, drawing review, sample approval, and batch documentation. Finally, compare the landed cost and delivery controls, not only the quoted unit price, before placing the production order.


 es
 cn