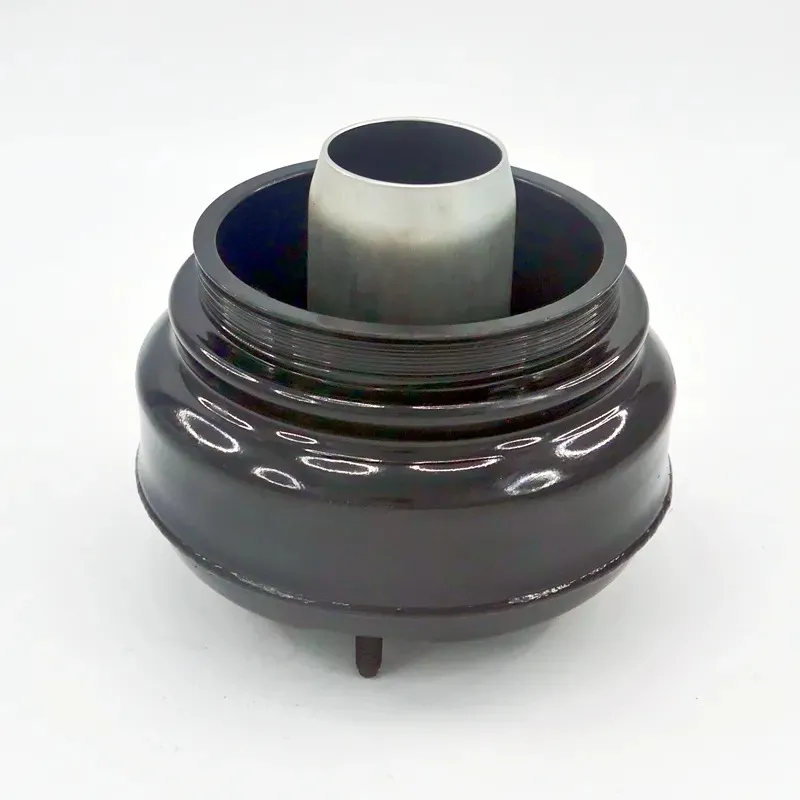
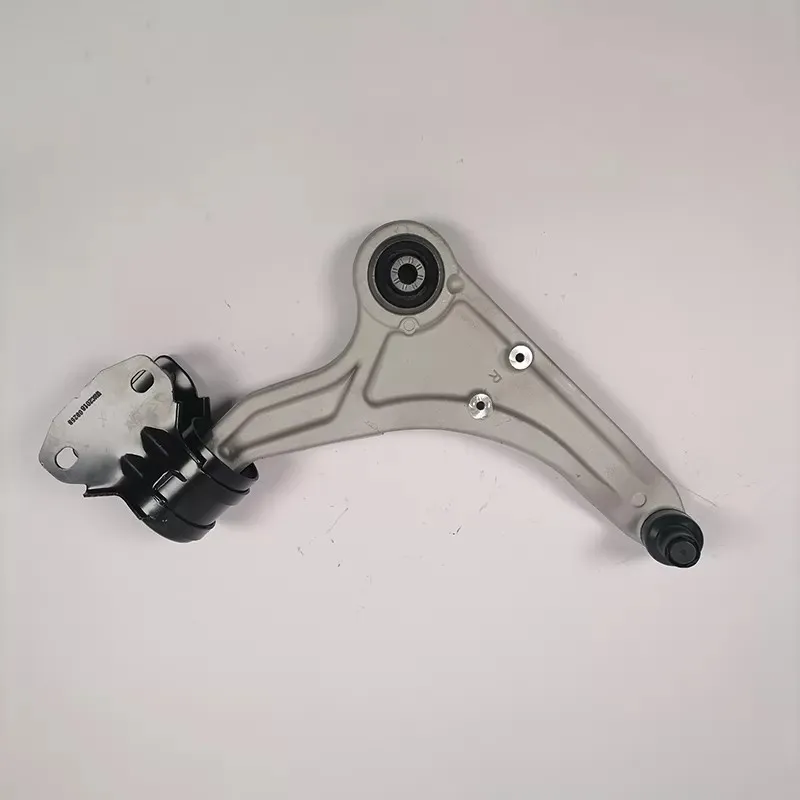
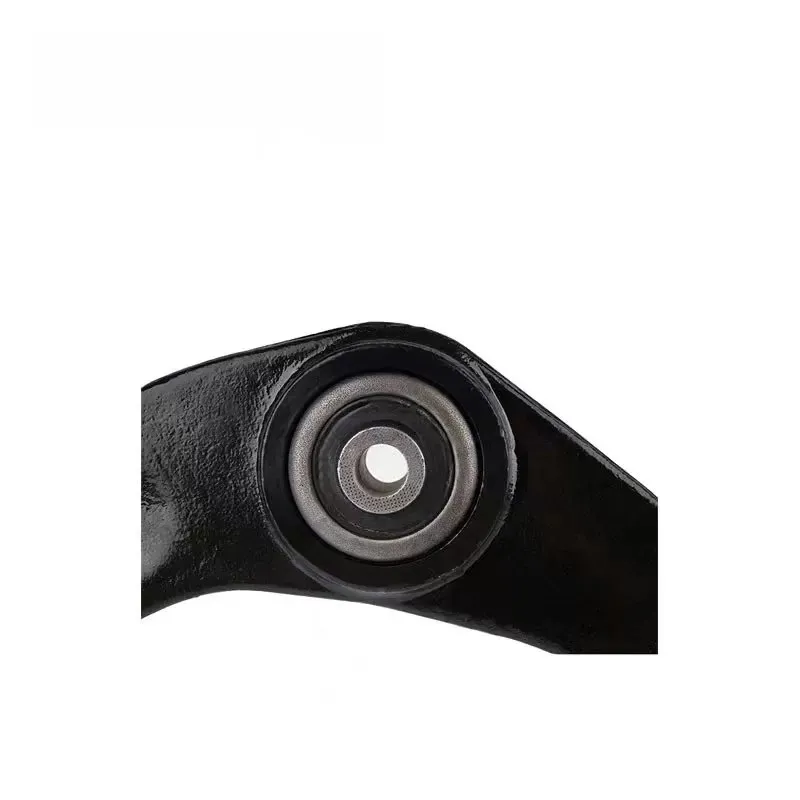
A control arm is a suspension link that connects the vehicle chassis or subframe to the steering knuckle, wheel carrier, or axle housing. It allows controlled wheel movement while helping maintain suspension geometry during braking, cornering, and acceleration. Upper and lower Control Arms serve different geometric roles, but both work with bushings and ball joints to control wheel travel, alignment, and steering response.
!
In this Guide to Control Arms, I explain what control arms do, how common suspension layouts use them, how to distinguish a failed arm from a worn bushing or ball joint, and how to plan replacement. I also cover fitment checks, control arm replacement cost, OEM and aftermarket choices, and the situations in which a complete assembly is more practical than replacing individual components.
Key Takeaways
- Control arms position the wheel while allowing suspension travel around bushings and ball-joint pivots.
- Upper and lower arms differ by location, load path, and influence on camber and caster.
- Noise, uneven tire wear, wandering, and braking pull require component-level suspension diagnosis.
- Vehicle fitment depends on suspension layout, side, trim, drivetrain, lift height, and OE part number.
- Alignment is normally required after control-arm replacement because suspension geometry may change.
Guide to Control Arms: How They Work and When to Replace Them
What does a control arm do?
A control arm manages the relationship between the vehicle body and the wheel assembly. Its inner mounting points attach to the chassis through rubber, hydraulic, or polyurethane bushings, while its outer end commonly connects to the steering knuckle through a ball joint. The bushings permit controlled rotation and absorb vibration, while the ball joint allows the knuckle to steer and move vertically.
During suspension movement, the control arm travels through a defined arc rather than allowing the wheel to move randomly. That arc affects camber, caster, toe, wheelbase position, and steering stability. When an arm, bushing, or ball joint develops excessive movement, the wheel may no longer follow the intended path, especially during braking or cornering.
How control arms connect the suspension
A typical control arm assembly includes a forged or stamped steel arm, one or more inner bushings, an outer ball joint, protective boots, and mounting hardware. Some arms are sold as bare arms, while others include installed bushings and ball joints. The correct choice depends on the vehicle design and whether the included components match the original dimensions and joint style.
The arm does not work alone. It interacts with the strut or shock absorber, coil spring, steering knuckle, stabilizer link, tie rod, wheel bearing, and subframe. A suspension noise can therefore come from several neighboring parts, which is why replacing an arm based only on a clicking sound can produce an unnecessary repair.
Upper and Lower Control Arms Across Suspension Designs
The difference between upper and lower control arms depends on the suspension layout. Some vehicles use both arms on each wheel, while others use only one control arm with a strut, trailing link, or multi-link arrangement.
Double-wishbone suspension
A double-wishbone system uses an upper control arm and a lower control arm. The arms attach the steering knuckle to separate points on the chassis, creating a more controlled path for wheel movement. The upper arm commonly influences camber and caster, while the lower arm carries substantial braking, cornering, and spring loads.
Because the wheel is guided by two arms, changes in arm length, bushing position, or ball-joint location can alter alignment. This is why lifted trucks often use geometry-corrected upper control arms rather than simply installing longer springs or spacers.
MacPherson strut suspension
Many MacPherson strut systems use a lower control arm, a steering knuckle, and a strut assembly. The strut provides the upper locating point, so a separate upper control arm is not required. The lower arm generally connects the subframe to the knuckle through an outer ball joint and one or two inner bushings.
On this layout, a worn lower arm bushing can allow the wheel to shift rearward or sideways under load. The driver may notice braking instability, steering correction, or tire wear even when the strut itself is not defective.
Multi-link suspension
Multi-link systems divide control-arm functions among several separate links. One link may manage toe, another may control lateral movement, and another may support longitudinal loads. The parts may be called control arms, lateral links, trailing links, or guide links depending on the manufacturer.
This design provides precise wheel control but makes diagnosis more involved. I inspect each link, bushing, ball joint, and mounting point rather than assuming that every rear suspension noise comes from one control arm.
Solid-axle suspension
Solid-axle vehicles use different control-arm arrangements from independent suspension systems. Four-link and five-link layouts may include upper and lower arms that locate the axle housing while allowing it to move vertically. The arms must withstand high loads from the axle, springs, braking, and off-road articulation.
For lifted trucks, replacement arms must match the lift height, axle position, bushing design, and intended use. A part made for a factory-height truck may not provide suitable geometry after a 2-inch, 4-inch, or larger suspension change.
Bad Control Arm Symptoms and a Diagnostic Workflow
Common bad control arm symptoms include clunks over bumps, steering wander, uneven tire wear, braking pull, vibration, and visible bushing separation. These symptoms are not proof that the arm itself has failed. A worn ball joint, tie rod end, stabilizer link, wheel bearing, strut mount, or loose fastener can create similar behavior.
I use the following inspection sequence before ordering parts:
- Confirm the symptom and conditions. Record whether the noise occurs during bumps, braking, acceleration, steering input, or low-speed turns.
- Inspect the arm visually. Look for bends, cracks, corrosion perforation, damaged welds, displaced bushings, and contact marks between metal surfaces.
- Check the bushings. Torn rubber, fluid leakage from hydraulic bushings, severe offset, or visible separation indicates deterioration. Minor surface cracking alone does not establish failure.
- Test the ball joint. Raise and support the vehicle according to the service procedure, then check axial and radial movement with the correct loading method. Compare measured play with the manufacturer’s limit.
- Check related components. Inspect tie rods, wheel bearings, stabilizer links, struts, subframe mounts, and fasteners before assigning blame to the control arm.
- Measure alignment and tire wear. Compare camber, caster, and toe readings with the vehicle specification. Feathering, cupping, or inside-edge wear can show geometry or bushing problems.
A pry bar should not be used to create a false diagnosis by forcing normal bushing movement beyond its intended range. I prefer comparing movement on both sides, checking for contact or free play, and using a dial indicator when the service information provides a measurable limit. Any loose fastener should be torqued to the vehicle manufacturer’s specification, with the bushing fasteners tightened at the correct suspension ride height when required.
When Should Control Arms Be Replaced?
Control arms should be replaced when the arm is bent, cracked, severely corroded, or no longer holds the ball joint or bushing securely. Replacement is also appropriate when a non-serviceable bushing or ball joint has exceeded its permitted play and the assembly is designed to be replaced as one unit. A control arm with a replaceable bushing may not require a complete assembly if the arm itself remains dimensionally sound.
I do not use mileage alone as a replacement rule. Service life depends on road salt, potholes, vehicle weight, towing, off-road use, bushing material, driving temperature, and previous impact damage. A vehicle with 60,000 miles may need arms before one with 120,000 miles if it has experienced repeated impacts or corrosion.
Replacing both sides is not automatically required. If one arm is damaged by an impact, replacing only that side may be reasonable after comparing the opposite side. If both bushings show similar aging, or the vehicle has high mileage and both arms use the same wear-prone design, replacing the pair can reduce repeated labor and preserve similar suspension behavior from side to side.
After replacement, I recommend a four-wheel alignment whenever the repaired component affects camber, caster, toe, or thrust angle. The vehicle should also receive a road test and a final inspection for loose hardware, brake hose interference, wheel-speed sensor wire routing, and abnormal tire contact.
Control Arm Replacement Cost and Purchasing Considerations
Control arm replacement cost consists of the part, labor, alignment, related hardware, and any additional worn components found during inspection. A single arm may require less labor than a complete front suspension refresh, but seized bolts, press-fit bushings, rust, and limited access can increase labor time. The final estimate should identify whether the price covers an arm only, an arm with bushings, or a complete arm-and-ball-joint assembly.
| Cost factor |
What changes the estimate |
| Part design |
Bare arm, bushing-installed arm, or complete assembly |
| Suspension layout |
MacPherson strut, double-wishbone, multi-link, or solid axle |
| Vehicle condition |
Rusted bolts, seized sleeves, damaged mounting points |
| Labor scope |
One side, both sides, or several suspension components |
| Follow-up work |
Alignment, tire replacement, or additional joint replacement |
Before purchasing, I check the vehicle identification number, model year, engine, drivetrain, body style, suspension package, and production date. I also verify left or right side, front or rear position, arm shape, bushing orientation, ball-joint taper, mounting-hole spacing, and included hardware. An online listing that matches only the vehicle name may still be incorrect for a different trim or drivetrain.
For fleet or wholesale buyers, OE numbers and cross-reference records should be reviewed against a physical sample or engineering drawing. Zegao Machinery identifies itself as Yuhuan Zegao Machinery Company, a chassis-parts manufacturer established in 1995 in Yuhuan, Zhejiang. Its published company information describes a 5,000-square-meter factory, more than 3,000 square meters of construction area, and product coverage that includes control arms, ball joints, tie rod ends, and other suspension parts.
When evaluating a supplier such as Zegao Machinery, I would request part-specific dimensional records, material information, bushing specifications, ball-joint design details, corrosion protection data, and inspection records. A supplier’s general product range does not replace verification for a specific control arm application. The purchasing decision should be based on fitment evidence, warranty terms, batch traceability, and the intended operating conditions.
OEM Versus Aftermarket Control Arms
OEM control arms are designed around the vehicle manufacturer’s original dimensions, bushing rates, joint interfaces, and suspension geometry. They are often the simplest choice when the vehicle remains at factory ride height and the priority is matching original behavior. Their disadvantages can include higher price, limited availability for older models, or an assembly that does not address a known weakness in the original design.
Aftermarket control arms vary widely by supplier and application. Some are direct replacements using factory dimensions, while others use adjustable joints, stronger tubing, revised bushings, or corrected geometry for lifted vehicles. I check whether the product is intended for a standard-height vehicle, a modified suspension, towing, racing, or off-road use before comparing price.
For a daily driver, I generally prioritize correct OE dimensions, bushing orientation, joint protection, and a documented warranty. For a lifted truck, I examine caster correction, arm length, joint misalignment capability, suspension travel, and clearance at full compression and full droop. A stronger arm with incorrect geometry can create more alignment problems than the original part.
A Practical Control Arm Decision Tree
If inspection shows only a replaceable bushing has failed and the arm is straight, repair the bushing when the service procedure and available tools support that work. If the ball joint is riveted, non-serviceable, or has excessive play, a complete control-arm assembly may reduce press work and ensure that the arm, joint, and bushing are compatible.
If the arm is bent or cracked, replace the entire arm and inspect the knuckle, subframe, wheel bearing, and alignment before returning the vehicle to service. If a suspension lift changes the factory control-arm angle, consider geometry-corrected upper arms or adjustable links only when their specifications match the lift and the vehicle’s intended use.
If the arm and bushings pass inspection but the vehicle still clunks, continue testing the tie rod ends, stabilizer links, strut mounts, wheel bearings, brake hardware, and subframe fasteners. This component-by-component approach prevents unnecessary parts replacement and makes the final repair easier to verify.
Conclusion
This Guide to Control Arms shows why these parts are central to wheel control, alignment, steering response, and suspension safety. I recommend beginning with a symptom record, visual inspection, bushing and ball-joint checks, related-component testing, and alignment measurements rather than choosing parts from a noise description alone.
When purchasing, verify the suspension layout, side, trim, drivetrain, ride height, OE number, ball-joint design, bushing configuration, and included hardware. Replace an individual bushing when the arm remains sound, choose a complete assembly when the joint or arm is non-serviceable, and use geometry-corrected arms only when a lift or suspension modification requires them.
After installation, torque fasteners to the specified values, tighten bushing hardware at the required ride height, inspect routing and clearance, complete an alignment when geometry has changed, and perform a controlled road test. Whether I am selecting OEM control arms, aftermarket control arms, or a control arm kit from a supplier such as Zegao Machinery, I treat documented fitment and measurable inspection results as the basis for a safe repair.


 es
 cn